Breath of the Wild tips and tricks
Eldin and Akkala Shrines
Index of the Tips and Tricks • Complete Walkthrough
Eldin
Daqa Koh - Stalled Flight
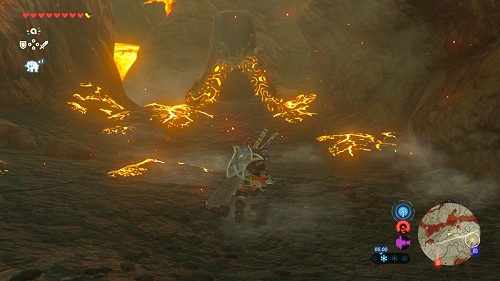 Location: Death Mountain, near the Goron Hot Springs
Required: -. See the walkthrough
Gorae Torr - Gorae Torr's Blessing
Location: Eldin Volcano, Gut Check Rock
Required: Some clothes against the heat and/or a meal against the heat, at least a piece of clothing for the climbing and probably a few stamina gauges ???. Linked to the "The Gut Check Challenge" quest
Go forward and open the chest which contains a Great Frostblade, then simply receive another Spirit Orb.
[DLC] Kamia Omuna Shrine - Moving Targets
Location: In the Eldin Mountains, by Lake Darman
Required: -. See the walkthrough
Kayra Mah - Greedy Hill
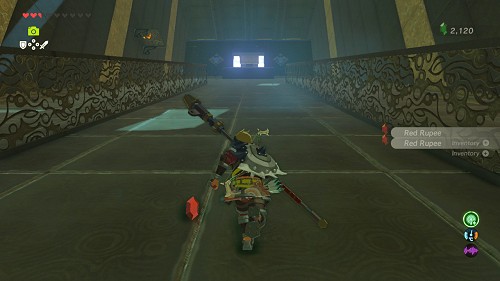 Location: Eldin Region,
Required: -. Linked to "A brother's roast" quest
Beware of the falling balls, as well as the traps. Half way through, on the right, pick up a Ruby in the chest, then keep going up to the top while trying to catch a few rupees. Turn around and see another chest on your right. Glide there and get 5 Bomb Arrows. Then go up to the monk and receive another Spirit Orb.
Mo'a Keet - Metal makes a path
Location: Eldin Canyon, next to the Foothill Stable
Required: -. See the walkthrough
Qua Raym - A balanced approach
Location: Eldin Canyon, next to the Eldin Tower
Required: -. See the walkthrough
[DLC] Rinu Honika Shrine - Block the Blaze
Location: In Eldin Canyon, near Darb Pond
Required: -. See the walkthrough
Sah Dahaj - Power of Fire
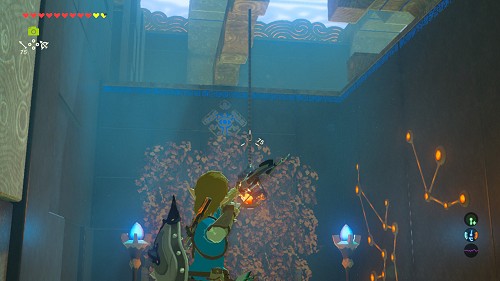 Location: Eldin Canyon, in its eastern part, south of Broca Island
Required: -.
Put the leaves on fire with a fire arrow or a Fire Rod (for example), which opens a path. Go ahead, fight the Guardian Scout and pick up its Guardian Sword and Ancient components. Climb the ladder and shoot an arrow at the lanter's rope to put more leaves on fire. Go ahead, go right twice and burn the leaves to make a chest containing a Knight's Bow fall down. Then turn around and shoot an arrow at the lantern's rope located behind some bars and above a slab placed on two crates. Cut the lantern's rope on the right as well, which will burn the other crate and make the slab fall on the switch, which opens the door! Go left to receive another Spirit Orb.
Shae Mo'sah - Swinging Flames
Location: Eldin Region, Goron City
Required: A way to make fire. See the walkthrough
[DLC] Sharo Lun Shrine - Blind Spots
Location: On Death Mountain
Required: -. See the walkthrough
Shora Hah - Blue Flame
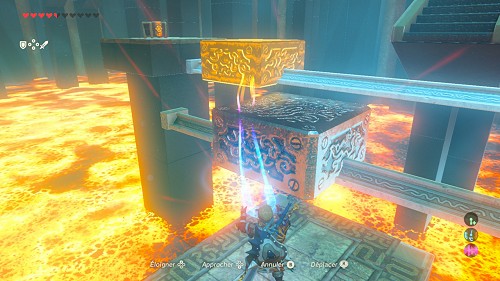 Location: Eldin Mountains, Isle of Rabac
Required: After calming down Rudania
Go ahead, use Magnesis to lift the spiked block while you're going ahead, then run to the lantern. Go left, use Magnesis to place the block to the left of the platform and the next block to the left of the first one. Jump on the two blocks, then to the chest and grab a Royal Bow. Go back on the first block, move the second one next to the stairs, then climb those stairs, pick up the torch and dip it into the blue flame. Go back down to the lantern and put it on fire, which lifts some bars. Go ahead between the water streams, go under the third one by holding Y down, then put the lantern on fire, which activates a lift. Shoot an arrow at the lantern over the lift through the blue flame, which makes some steps appear! Go back to the previous lantern and climb all the steps. Step on the switch, then quickly backdash to avoid the ball! Climb the slope, go forward and destroy the four Guardians. Pick up their Ancient components, then open the chest for a Great Flameblade and a Giant Ancient Core.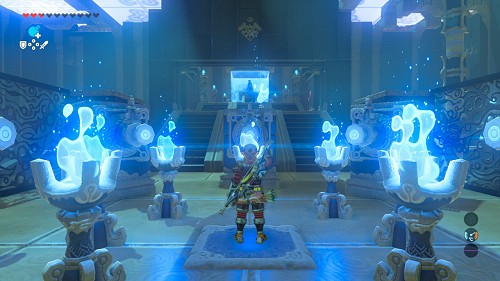 Backtrack, light your torch, and set the lantern on fire to lift some bars. Next, light up another lantern, then use Stasis on one of the taps, and quickly light the lantern in front of it and the third one, to raise other bars. Keep going, light the following lantern, then dip an arrow into the flame and shoot at the two moving lanterns when they're roughly aligned. Fly to the other side thanks to the wind currents and land on the 2nd moving platform. Shoot an arrow at the following lantern through the one nearby, then fly further and set fire to the next lantern as well. Stand in front of the tap, freeze it, then move the metallic block on the right. Fly ahead with the wind current, then use Magnesis on the chest to bring it to you and get 100 rupees. Now go down the slope and get rid of the three Guardians for example with some bombs or a fire arrow at the leaves. Pick up a Guardian Sword, Guardian Axe and Guardian Spear, then open the next chest for ten Ice Arrows. Light the next lantern, then stand in the middle of the torches, hold Y down and let go to light them all at the same time! Finally receive another Spirit Orb.
Tah Muhl - Passing the Flame
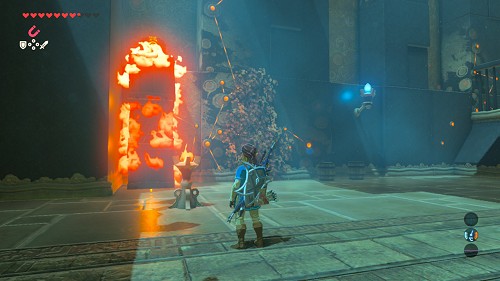 Location: Eldin Region, Trilby Valley, south of Lake Ferona
Required: some arrows. Linked to the "A Landscape of a Stable" quest
Go right, dip an arrow into a torch and put the leaves facing the entrance on fire. Jump into the following room and put the pile of three crates on fire (through a torch) to grab some Amber or Opal. In the opposite corner, notice another chest behind some leaves and open it to get a Cobble Crusher. Then, put the leaves going behind the bars on fire to set fire to the chest which drops a Small Key. Use Magnesis to grab this key then open the door. Grab a Ruby from the chest, then get out and put the four crates on fire which will lower the slope. Go up and receive another Spirit Orb.
Akkala
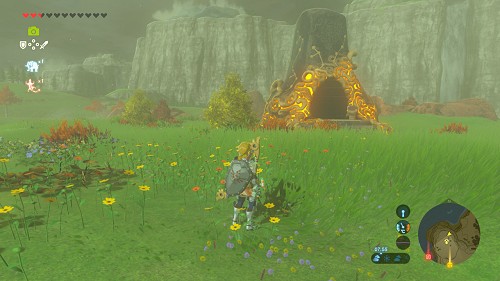 Dah Hesho - A Minor Test of Strength
Location: Lake Akkala, on a hill on the southeast side of the lake
Required: -.
Go forward and get ready to fight a small Guardian. Perform jump attacks, avoid its attacks and hit it with the sword or shoot some arrows at its eye. Once it's defeated, pick up its Ancient Battle Axe, as well as its ancient materials. Go on, pick up a Giant Ancient Core from the chest, then the monk gives you another Spirit Orb.
Katosa Aug - Katosa Aug Apparatus
Location: Deep Akkala, next to the East Akkala Stable.
Required: -. See the walkthrough
Ke'nai Shakah - A Modest Test of Strenght
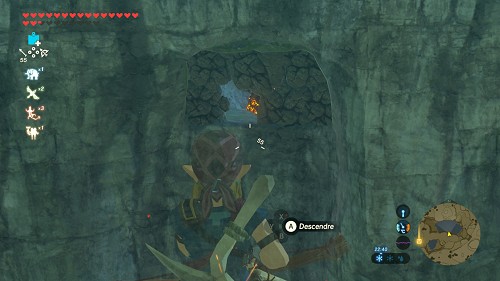 Location: South of the area, at Ulria Grotto
Required: -.
Go south of the lake and look north, you spot a bunch of cracked rocks in the cliff, as well as a slight red light. Shoot a Bomb Arrow at the rocks while aiming higher so the arrow flies further, then glide to the shrine and climb the wall.
Go forward and get ready to fight a Guardian. Perform some jump attacks, avoid its attacks and hit it with the sword or shoot some Shock Arrows at its eye. Once it's defeated, pick up its Guardian Sword+, its Ancient Battle Axe+, as well as its Ancient materials. Keep going, get a Sapphire from the chest, then receive another Spirit Orb.
Ritaag Zumo - Ritaag Zumo's Blessing
Location: Akkala Highlands, Rist Peninsula
Required: -. Linked to the "Into the Vortex" quest
Go ahead, get the Giant Ancient Core from the chest, then receive another Spirit Orb.
Tu Ka'loh - Tu Ka'loh's Blessing
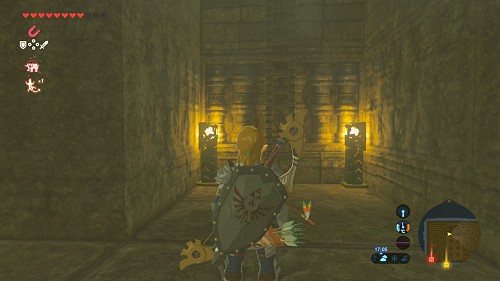 Location: Deep Akkala, on Lomei Labyrinth Island
Required: -. Linked to the "Trial of the Labyrinth" quest
Look at your map, go left and follow the path to go north. Once you're in front of a magnetic block, grab it and make it move back a little. Go behind it, then keep going right. Next, go up a ladder and climb several stairs until you reach the shrine. Get in, take the Barbarian Helm from the chest, then receive another Spirit Orb. Once out, you can jump into the hole while using the Paraglider a little so you don't drop on the ground, then run in front of you and pick up the Diamond Circlet from the chest! then quickly warp. Note that if you follow the path going right from the start, you can find behind another magnetic block a Knight's Shield and a Knight's Sword.
Tutsuwa Nima - A Major Test of Strenght
Location : Spring of Power, west of East Akkala Stable
Required: -. Linked to the "The Spring of Power" quest
Go forward and get ready to fight a tough Guardian. Perform some jump attacks, avoid its attacks, hit it with Ancient weapons if you can and shoot some Shock Arrows. Once it's defeated, pick up its Guardian Spear++, its Guardian Sword++, its Guardian Shield++ as well as its Ancient materials. Keep going, get a Flamespear from the chest, then the monk gives you another Spirit Orb.
Ze Kasho - Ze Kasho Apparatus
Location: Akkala Highlands, next to the South Akkala Stable
Required: -. See the walkthrough
Zuna Kai - Zuna Kai's Blessing
Location: Deep Akkala, Skull Lake
Required: -. Linked to the "The Skull's Eye" quest
Go ahead, take the Flameblade from the chest, then receive another Spirit Orb.
