Breath of the Wild tips and tricks
West Necluda, East Necluda and Lanayru Shrines
Index of the Tips and Tricks • Complete Walkthrough
West Necluda
Bosh Kala - The Wind Guides You
Location: In the west part of West Necluda, near the Proxim Bridge
Required: -. See the walkthrough
Ha Dahamar - The Water Guides
Location: In the centre of West Necluda, near the Dueling Peaks Stable
Required: -. See the walkthrough
Hila Rao - Drifting
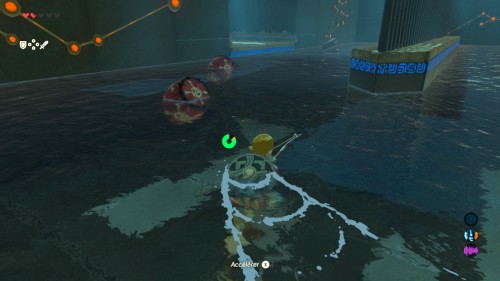 Location: In the north of West Necluda, on the Floret Sandbar, next to the Eagus Bridge
Required: -. Linked to the "Watch out for the flowers" quest
Go ahead, cross on the plank when it's in front of you and jump. Cross on the following planks the same way you did. Then, when the chest goes in front of you, use the Cryonis Rune under the chest, then climb the ice tower and open the chest for some Ice Arrows. Go back to the edge, then throw a bomb into the water. When it goes by the cracked blocks on the other side, make it explode then swim to the other side and go ahead. You can also shoot a fire or bomb arrow at a barrel. Get close to the monk and receive another Spirit Orb.
Lakna Rokee - Lakna Rokee's Blessing
Location: West Necluda, east of Kakariko Village
Required: -. Linked to the "The Stolen Heirloom" quest
Go forward, pick up the Edge of Duality from the chest, then receive another Spirit Orb.
Ree Dahee - Timing is Critical
Location: West Necluda, west of the Ha Dahamar Shrine and Dueling Peaks Stable
Required: -. See the walkthrough
Shee Vaneer - Twin Memories
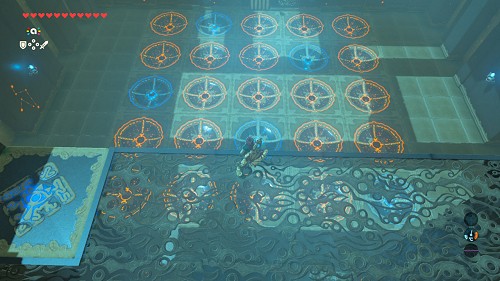 Location: West Necluda, atop the Dueling Peaks, on the south bank of the river
Required: -.
Read the stele to understand that this shrine is linked to the other. Step on the lift and note the position of the 5 blue balls. Then fly into the corner behind the pillar and open the chest which contains an Eightfold Longblade. Get out, go into the linked shrine and place the blue balls in this shrine's order. The bars being lifted, go forward, climb the ladder and receive a Spirit Orb.
Shee Venath - Twin Memories
Location: West Necluda, atop the Dueling Peaks, on the north bank of the river
Required: -.
Read the stele to understand that this shrine is linked to the other. Step on the lift and note the position of the 5 blue balls. Then fly into the corner behind the pillar and open the chest which contains a Serpentine Spear. Get out, go into the linked shrine and place the blue balls in this shrine's order. The bars being lifted, go forward, climb the ladder and receive a Spirit Orb.
Ta'loh Naeg - Ta'loh Naeg's Teaching
Location: West Necluda, next to Kakariko Village
Required: -. See the walkthrough
Toto Sah - Toto Sah Apparatus
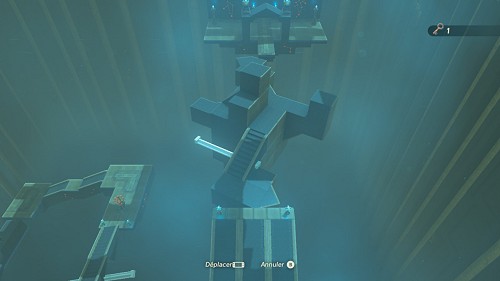 Location: Southeast of West Necluda and southwest of Hickaly Woods, on the other side of the river
Required: -.
In the western part of Hickaly Woods, notice some cracked rocks on the other side of the river. Shoot a Bomb Arrow at these rocks, or generate an ice pillar with Cryonis then throw and blow up a bomb.
Go forward and look at the mechanism. Rotate the platform in front of you, then jump on it and open the chest containing a Shield of the Mind's Eye. Keep going, climb the steps and look at the following mechanism. There you have to align the three parts of the stairs, then to place these stairs in front of you. Then, climb those stairs and go to the third mechanism. Rotate the platform to reach the chest, then jump to the chest containing a Small Key. Go back near the mechanism and this time, rotate it in order to reach the monk's altar. Go across the platform, then receive a Spirit Orb.
East Necluda
Chaas Qeta - A Major Test of Strength
Location: In Necluda Sea, on Tenoko Island
Required: -.
Go forward and get ready to fight a tough Guardian. Perform some jump attacks, avoid its attacks, hit it with Ancient Weapons if you can and shoot some Shock Arrows. Once it's defeated, pick up its Guardian Sword++, its Ancient Battle Axe++, its Guardian Spear++ as well as its Ancient materials. Keep going, get the Climbing Gear from the chest, then the monk gives you another Spirit Orb.
Dow Na'eh - Three Boxes
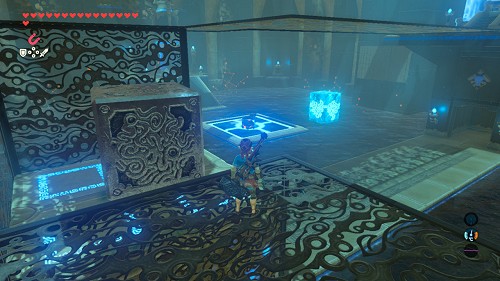 Location: In the west part of East Necluda, on Lanayru Promenade, behind the waterfall to the south
Required: -.
Go down the slope, step on the big switch and use Magnesis to take out a chest from the water containing an Opal. Then, shoot two arrows at the ropes on the left to make another chest fall into the water. Generate an ice column to get close, then use Magnesis again to take the chest out of the water and place it on the switch. It contains a Zora Sword. Swim to the back of the room, open the third chest for some Amber, then place this chest on the switch, which lifts the bars. Grab the magnetic block, place it on the lift, then go up and go down to the left. Jump onto the block, then fly to the altar of the monk who gives you a new Spirit Orb.
Jitan Sa'mi - Jitan Sa'mi's Blessing
Location: In the east part of East Necluda, in Mount Lanayru, at the Spring of Wisdom
Required: Some warm clothes and a spicy meal. Linked to the "The Spring of Wisdom" quest
Go forward and open the chest which contains a Frostspear, then simply receive another Spirit Orb.
Kam Urog - Trial of Passage
Location: In the west part of East Necluda, in a clearing full of statues
Required: -. Linked to "The cursed statue" quest. See the walkthrough
Mezza Lo - Ancient Trifecta
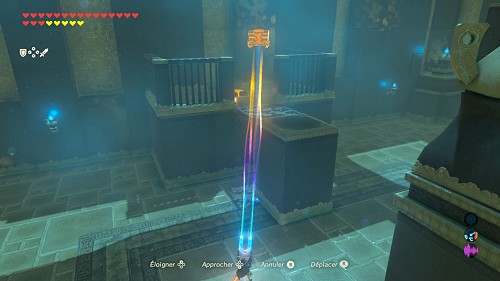 Location: In the north of East Necluda, in Rabia Plain
Required: -. Linked to the "The Crowned Beast" quest.
Climb the slope on the right, grab the magnetic block with Magnesis and place it between you and the chest on the left. Next, hit the blue switch (it gets orange), which makes a platform appear next to the monk's altar. Fly to the cube, then grab the chest and place it next to you. Find a Thunderblade inside, then grab the chest and place it on the switch above, which lifts the bars leading to the monk. (If you're too far away, move the cube between the central pillar and the new platform, then fly onto the cube again.) Grab the block again and place it next to this platform, then fly onto it, jump on the platform and receive another Spirit Orb.
Myahm Agana - Myahm Agana Apparatus
Location: In the southeast of East Necluda, near Hateno Village
Required: -. See the walkthrough
Tahno O'ah - Tahno O'ah's Blessing
Location: In the east part of East Necluda, in Mount Lanayru, east of Madorna Mountain
Required: Warm clothes and/or meal against the cold. Linked to the "Secret of the Cedars" quest
Go ahead and open the chest which contains the Climbing Boots. Then simply receive another Spirit Orb.
Lanayru
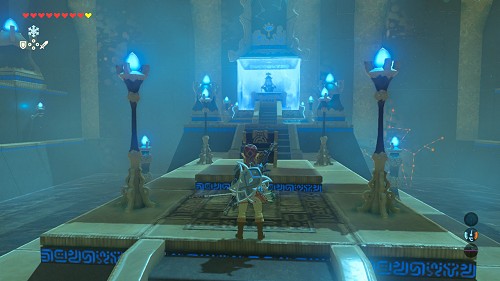 Dagah Keek - Dagah Keek's Blessing
Location: West of Zora's Domain, at Veiled Falls
Required: A spear. Linked to "The ceremonial Song" quest
Go ahead and open the chest which contains 100 rupees, then simply receive another Spirit Orb.
Daka Tuss - Sunken Scoop
Location: In the west part of Lanayru, in the south part of Lanayru Wetlands
Required: -. See the walkthrough
Kah Mael - Drop and Rise
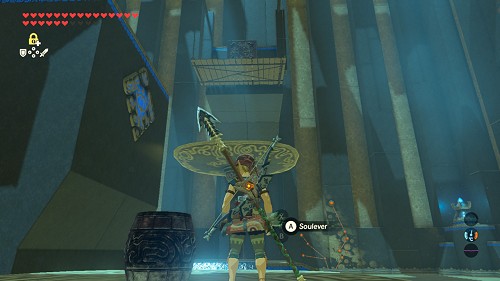 Location: East of the Akkala region, on Tingel Island
Required: -.
Go to the centre of Tingel Island, use Stasis on the metal plate, hit it to move it, then go down to the shrine.
Climb on the scale's left plate, throw the barrel on the ground, then shoot some arrows at the two ropes of the wooden platform, which makes the metallic crate fall on the scale's right plate. Then, climb on the right plate, grab the crate, raise it as high as you can, then make it fall on the other plate, which sends you flying, so take advantage of this to fly to the chest. Get a Diamond inside, then go back on the right plate. Again, raise the crate high, make it fall, then fly to the monk and receive another Spirit Orb.
Kaya Wan - Shields from Water
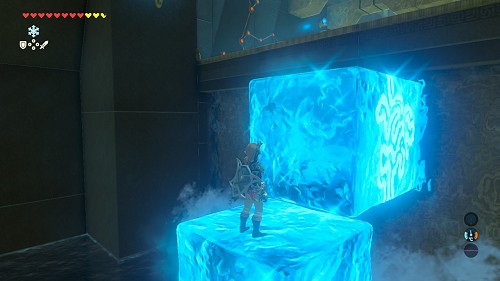 Location: In the west part of Lanayru, in the west part of Lanayru Wetlands, near the Wetland Stable
Required: -.
Use the Cryonis Rune to create an ice pillar next to the edge on the other side, then swim and climb it. Create then an ice block on the running water to climb and reach the following room. Shoot an arrow at the Guardian to make it fall into the water, then create an ice pillar under the chest. Climb it and pick up an Ancient Core from the chest. Create another ice pillar further, then grab the Ancient Screws that fell into the water, climb the pillar and jump ahead. Shoot an arrow at the Guardian to get rid of it, then jump on a raft, jump where it was standing and get rid of the second Guardian. Create an ice pillar under the bars opposite to raise them, then create another ice pillar between the bars and you, climb on it, then hover to the chest behind the bars containing a knight broadsword. Shatter the pillar in the middle of the way, get onto a raft, then the raft falls down, hover to the monk.
[DLC] Kee Dafunia Shrine - The Melting Point
Location: Near the islands in the eastern part of Akkala
Required: -. See the walkthrough
[DLC] Mah Eliya Shrine - Secret Stairway
Location: To the east of Zora's Domain
Required: -. See the walkthrough
Ne'ez Yohma - Pushing Power
Location: In Zora's Domain
Required: -. See the walkthrough
Rucco Maag - Five Flames
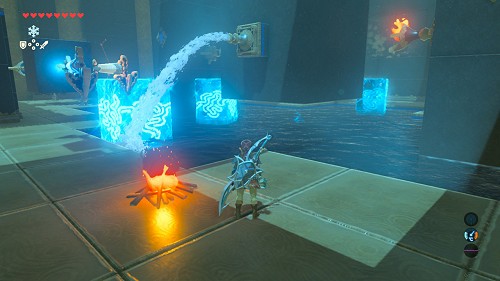 Location: In the southeast of Lanayru, in Samasa Plain, southeast of Ruta after freeing it
Required: -. To reach it, you can warp towards Vah Ruta, then really going round it by the northeast, and fly in several steps to the shrine (and avoid the brambles).
Use some Wood and a Flint and place them on the ground, then give a hammer (or any other metallic weapon) shot to the flint to light a fire. You can also use Fire Arrows if you have plenty of them. The goal being to set the 5 torches on the central cube on fire by hitting the item marked with three arrows, first of all hit the crystal at the bottom, which makes the two cubes rotate on themselves. Then stand in front of the crystal on the "front" (the cube with crystals is facing you and the cube with torches is behind the small cube), shoot an arrow at this crystal, and repeat this. All the crystals are now blue, you just have to light up the three remaining torches so the bars rise. To get the content of the elevated chests (Zora Bow on the right and Opal on the left), set the wooden supports on fire.
[DLC] Sato Koda Shrine - Support and Guidance
Location: In the northwestern part of Lanayru, in Upland Zorana
Required: -. See the walkthrough
Shai Yota - Shai Yota's Blessing
Location: In Lanayru Sea, in Horon Lagoon
Useful : Bomb Arrow. Linked to the "Master of the Wind" quest.
Go ahead and open the chest which contains the Great Flameblade. Then simply receive another Spirit Orb.
Sheh Rata - Speed of Light
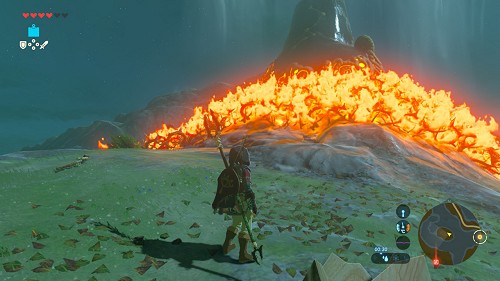 Location: In the west part of Lanayru, in the north part of Lanayru Wetlands
Required: Fire Arrows or Fire Rod. To reach it, put the brambles on fire thanks to a Fire Arrow or a Fire Rod.
Jump down to the right, open the chest which contains an Opal, then climb the slope. Look at the crank and turn it once towards the left. A laser beam starts rotating, quickly go down the slope, and when the laser beam hits the "diamond switch" on the right, the water level rises. Now swim across the pool then notice a magnetic barrel and a switch at the bottom of the water. Place the barrel above the switch (the former floats), then go back across the pool. In view of reaching another chest near the monk, create ice pillars to reach the diamond, drop a bomb near it, then come back to the crank. Turn it towards the right, the laser rotates again, then the water goes away. If the barrel was placed right, it falls down on the switch, the bars are lifted, but you're blocked. Turn the crank towards the left to make the water level rise, then turn it towards the right, but this time quickly jump into the water, go across by dashing 3-4 times and get out before the water level lowers. If you need to, put the barrel back on the switch. Get close to the monk, then detonate the bomb to activate the diamond and have the water rise again. Now you can create an ice pillar in front of the elevated chest and pick up a Giant Boomerang! Then receive another Spirit Orb.
Soh Kofi - A Minor Test of Strenght
Location: In the centre of Lanayru, northeast of Lanayru Wetlands, near the Lanayru Tower
Required: -. See the walkthrough
