Shadow Temple
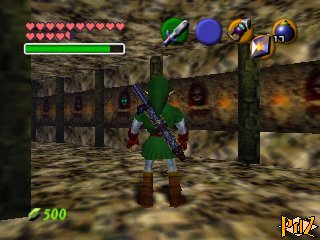 Follow the corridor, then use the Longshot to cross the gap and go through the wall ahead of you. Turn left, walk along the wall, then go through it where you can see a face (you can use the Lens of Truth to locate the passages). Open the door and go through the wall in front of you leading to a room with skulls all around. Go right and cross the wall where eyes are blinking. Open the door, play the Sun's Song to stun the ReDead, then get rid of it along with the two bats. Take the Map in the newly-appeared chest. Get out, go right and go through the wall between the two pots. Follow the corridor to reach a similar room, then cross the wall to the north-west (according to the map) near the pot, and open the door. You will find another Dead Hand and some hands. Use the Lens of Truth to locate its shadow, place a bomb there, then strike it with your sword (with the Biggoron Sword, it's an easy fight). Pick up the Hover Boots in the big chest, then go back to the starting room with the eagle statue.
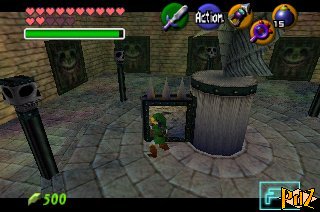 Look at the skulls on the pillars with your Lens of Truth and look for the one that doesn't disappear. Then push the block in front of the statue to this skull, which opens a gate, then put on the Hover Boots and cross the gap towards the statue's tongue. Follow the corridor, destroy the Beamos with two bombs (or a bombchu), then play the Song of Storms so a fairy will appear and thus fill up your hearts and magic. Go through the right wall, open the door, play the Sun's Song, then slash the ReDeads and take the Compass from the chest. Get out, then walk through the opposite wall. Collect all the silver rupees while avoiding the blades and use the Longshot to climb on the crate and collect the one floating in the air. Follow the now accessible corridor on the other side of the room, pick up the Small Key in the chest, then come back to the previous room.
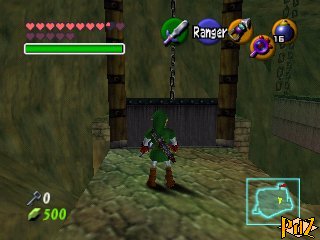 Place a bomb next to the wall on your left, then open the locked door. Follow the long corridor while watching out for shadows on the ground indicating that some Skulltulas are there. Walk by the two guillotines and go on up to a large room. Take off your Hover Boots if you were still wearing them, then cross the three gaps and guillotines. At the end of the path, get rid of the Stalfos, then play the Song of Storms to get another fairy. To get a Gold Skulltula and arrows, turn left, use the lens and follow the platforms. Otherwise, turn directly to the right, wait for the platform to get down and jump as far as possible. Then, wait for it to go down again and when it goes up a bit, jump on the small ledge on the right, which is linked to the platform on the other side. Collect all the silver rupees, destroy the Beamos that holds the last one, then follow the now accessible corridor.
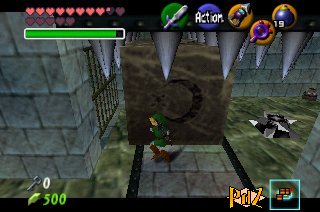 Use the Lens of Truth to locate a block in the right wall, pull this block on the drawing, then push/pull it towards the "pike traps", which will be blocked, until you reach the drawing in the back. Then, climb on it and jump to the left. Climb on the pike trap to get to the other side and step on the switch. Walk back onto the pike trap and use the Longshot on the new chest to the far right to find another Small Key. The other chests contain arrows and rupees. Go back to the big room and walk on the ledge on the left up to another guillotine. Use your Lens of Truth to see a moving platform, jump and go on to the locked door. Get in, look for the invisible spikes, then get rid of the two ReDeads and take the rupees in the chest. Pick up all the silver rupees using your Longshot on the sometimes-invisible targets, then open the door on the left (from the entrance). There, walk up the steps, pick up a Bomb Flower and throw it into the skull. Grab the Small Key on the ground, get rid of all the bats to unlock the door, and get out.
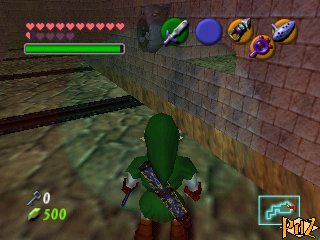 Using the Lens, shoot the Longshot at the target above the door on the left to go up, and open it. Put on your Iron Boots to prevent the fans from pushing you back, and go on until you reach the gap. As soon as the opposite fan stops blowing, put on your Hover Boots, cross the gap, then quickly put on your Iron Boots again. Walk to the door, get through, strike the two ReDeads, play the Song of Storms in the middle of the room to get a fairy and grab some arrows in an invisible chest if you need them. Go near the drawing on the wall to get a piece of advice from Navi, then get out and use the lens to see a path on the right. When the first fan on the left stops blowing, go to it, have your back face it and put on your Hover Boots. When it starts pushing you, run to the passage and open the door. Look right, place a bomb on the heap, then use your Lens of Truth and find a Small Key in the chest. Next, get rid of the two ReDeads, take some rupees in the other chest and unlock the door.
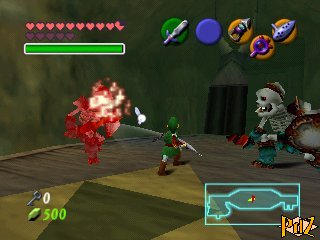 Go left, pull/push the block on the path to the bottom of the ladder, but do not climb the wire fence! (If you climbed anyway, just go back down, where the cube is blocking you, and use Farore's Wind which will create a warp point to be used to go "through" the fence.) Next, climb on the block and climb the ladder.
Stalfos Duo
Get on the boat, play Zelda's Lullaby on the Triforce symbol, then during the cruise, fight the two Stalfos. When the boat starts to sink, quickly jump left, then open the door on the right. Use the Lens of Truth to find your way through the maze. To get a Gold Skulltula and some ammo, visit the western room (according to the map), otherwise go to the southern room. Use the Lens to get rid of the Floormaster, then take the Small Key in the chest. Get out, go to the north room and use Din's Fire in the middle of the room to burn down the walls. Grab the Boss Key in the chest, then go back to the boat room.
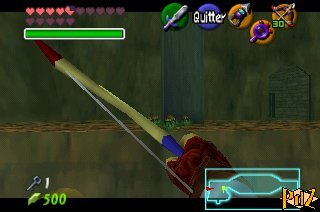 Look right and above, if you know the Scarecrow's Song, play it, Pierre will appear and you will be able to "longshot" it to get across. Otherwise, walk to the end of the platform and look at the statue with some bombs at its base. Shoot an arrow at one of these bombs to make it fall, then cross the river.
Attention: In case you wouldn't beat the boss on the first try, use Farore's Wind to create a warp point or use this shortcut to come back from the entrance of the temple to this place: go ahead, cross the gap, in the room with the Beamos, turn left, walk along the right wall and follow the second corridor, at the end of it is a hidden hole, jump, get down on the fence and you will be near the boat.
Open the locked door, put on your Hover Boots and use the Lens of Truth to reach the platforms and open the boss door.
Bongo Bongo
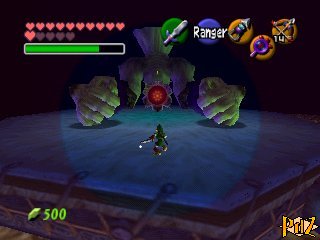 To defeat him, keep your Hover Boots on, stay far away from his hands, use the Z lock and shoot an arrow at one of his hands. If it turns blue, quickly shoot an arrow at the other hand, which will also turn blue. Then, use the Lens of Truth to see his red eye, (if you have the Biggoron Sword, press B to raise it) press B for a long time to load a Spin Attack and when the eye gets close, release B, then strike him several times with your sword. As always, you need to follow this tactic several times. Next pick up the Heart Container and get into the blue light.
In the Chamber of Sages, Impa will become the fifth Sage and will entrust you with the Shadow Medallion.
