Water Temple
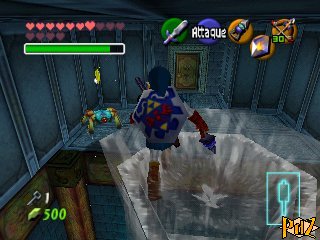 Note: In this dungeon, you will find three places where you can change the water level:
- On level 3 (entrance), east on the map, lowers the water to level 1
- On level 2, in the central tower, rises the water to level 2
- On level 1, south-east on the map, rises the water to level 3
Jump and swim towards the right bank, then put on your Iron Boots to dive to the bottom of the water and get in the corridor between the two torches. You will meet Princess Ruto again who wants to save the Zora's Domain. When she leaves, go a little bit further and take off your boots to surface to the highest floor. Play Zelda's Lullaby in front of the Triforce mark, which drains the water to the lowest level. Then open the door, get rid of the enemies thanks to the Hookshot and find the Map in the big chest. Now get out and jump into the hole, you will see two extinguished torches and one lit. You have to light up quickly both remaining torches by lighting an arrow or by using Din's Fire. Open the door, fight the Shell Blades with your Hookshot, pick up the Small Key in the chest, then come back to the main room.
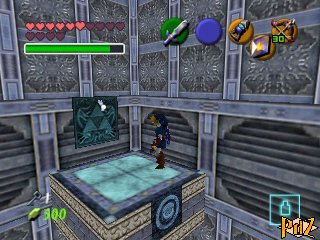 Go to the other side of the room, climb on the square platform, then push the block as far as possible. Jump, put on your Iron Boots to reach the first basement, follow the short path, take off your boots and get out of the water. Shoot your Hookshot at the diamond, then jump into the geyser, then to the other side (if you fall, aim at the target with the Hookshot). Open the door, put on the Iron Boots and jump to the first basement. Shoot at the diamond in the jaw of the monster, then quickly swim towards the passage and go to the back to go up one level. Take the Small Key in the chest, then hit the diamond and quickly go back down. Leave this room, shoot the Hookshot at the target to go across, follow the corridor, then use it again on another target to go up one level and come back to the main room.
Find the locked door on one of the central tower's sides, get in and use the Hookshot to reach the upper ledge. Play Zelda's Lullaby in front of the Triforce to make the water level rise to the intermediate level, then change your boots and get down to the first basement. Follow the corridor, shoot at the diamond, then get rid of the Shell Blades and spikes to open a gate. Go north-east from the entrance (where the gate was), then take off your boots and find another Small Key. Go back to the central tower, surface and get out.
Now look for a corridor with two pots, follow it, then use your Hookshot to get past the spikes. Shoot your Hookshot at the target on the ceiling, stand next to the chest, then fire an arrow at the diamond. Quickly open the chest and pick up the Compass inside. Go back to the main room, put on your Iron Boots and go back in the room where you met Ruto (the corridor with two torches). Take off your boots, blow up the wall where there is a crack and take another Small Key in the small chest.
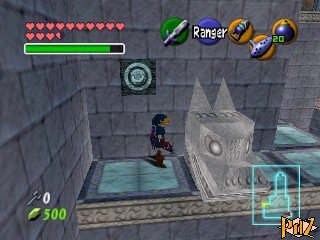 Go back to the main room, swim to the surface, bypass the tower and open the locked door in front of you. Stand on the geyser, then shoot an arrow at the diamond to go up one level. Open the door, then play Zelda's Lullaby in front of the Triforce to make the water rise to the highest level. Swim leftwards and open the locked door. Jump twice, the next platforms will move. Wait until you've reached the bottom, then use the Hookshot to go from one platform to another until you reach the top. Unlock the door.
Shoot your Hookshot at the diamond, then aim at the statue facing the door. Hit the diamond again, then aim at the target next to the second statue. Go over the statue's head, then hit the diamond again. Aim at the third statue, then the diamond, climb on the statue and aim at the diamond one last time. Get rid of both Tektites, then fire arrows at the Like Like. Shoot your Hookshot at the target on the ceiling, then open the door (if you lose your shield and/or your tunic, quickly defeat it and you will get them back).
Dark Link
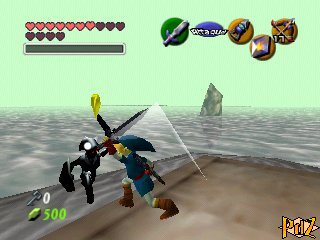 Go straight to the door with bars, then turn around, you will see a shadow near the tree. It's Dark Link! He is really quick, hard to get close to and tends to mimic your moves. Use Din's Fire as much as possible, then finish him with your sword by getting as close to him as possible. You can also put on your Iron Boots to slow him down and fight him a little bit easier. Or you can also use the Megaton Hammer, that his shield won't be able to block. When he's finally defeated, open the next door and get the Longshot! Look behind the chest, play the Song of Time and jump.
Note: It's also possible to use the Megaton Hammer, which the shield won't be able to block.
Get down the river while avoiding the whirlpools (stick to the left wall, after the first whirlpool, stick to the right one, and after the second one, go back to the left) and climb on the ledge. If you prefer, you can also use the Iron Boots and get a Gold Skulltula token located on the left wall. Shoot an arrow at the eye, then fire the Longshot at the chest and pick up the Small Key. Follow the corridor and you will reach a room you've already visited. Get back to the main room, dive to the bottom of the water and take the corridor with the two torches. Then go back to the Triforce mark and play Zelda's Lullaby to make the water level lower to the maximum again. Go back to the main room.
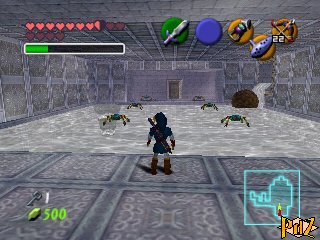 To find a Gold Skulltula, follow the corridor on your left, otherwise enter the tower directly. Play Zelda's Lullaby near the symbol, get out and go to the other side of the tower. Shoot an arrow at the eye, then use the Longshot on the target and go to the block. Pull the block, follow the corridor behind you and use the Longshot to get back to the main room. Go back to the corridor over the eye (middle level, south on the map) and there, push the block. Go right, find another Small Key in the chest, then go back to the main room.
Put on your Iron Boots and follow the corridor north on the map. Take off your boots, use the Longshot to avoid the spikes and unlock the door. First, try to get rid of the two Tektites with arrows, then cross the pond while avoiding the whirlpools and rolling rocks. Open the door, jump on the platform on the right and blow up the cracked wall. Then cross the pond and blow up the wall on the left. Follow the passage, push the block, then come back to the other side of the pond, pull the block as much as possible, cross the pond once again and push the block again, the idea being to make the block fall onto the switch at the bottom of the water to make the water level rise.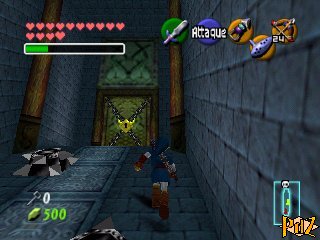 Then climb up the stairs and open the next door. Stand on the switch, then jump on the geysers to reach the other side and quickly open the door. Put on the Iron Boots, jump to the right after a rock has just passed by, then turn right, go ahead, take off your boots and unlock the door. Take the Boss Key in the chest, as well as some fairies in the pots. Come back (there is a Gold Skulltula behind the waterfall), follow one of the rocks up to the pond and go back up on the right (where you got in).
Go back to the main room, surface and take the corridor on your right (west on the map). Stand on the geyser to get one level higher, open the door and play once more Zelda's Lullaby next to the symbol on the right. Swim towards the left, climb on the ledge of the tower and shoot the Longshot at the target on the statue to the north. Pick up some fairies in the pots if you need them, then open the door, climb the slippery slope while avoiding the spikes and open the boss door.
Morpha
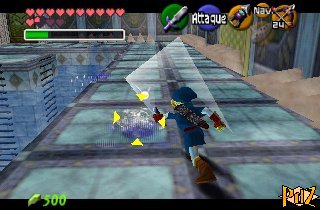 Jump on one of the platforms to lure the boss, then go back on the outer borders. Use the Z lock and get ready to use your Longshot. When one of the tentacles rises and is approaching you, move back, and when it touches the ground, use your Longshot and get closer to it. When the red core is hit, strike it with your sword (the Biggoron Sword if you have it). Repeat this until Morpha is defeated, then pick up the Heart Container and get into the blue light.
In the Chamber of Sages, Princess Ruto will become the fourth Sage and will entrust you with the Water Medallion.
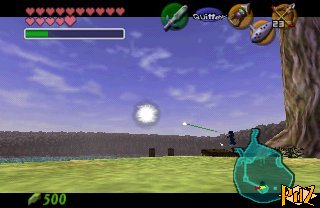 Once back to Lake Hylia, Sheik will make another mysterious appearance. Next, look at the slab near the tree. Play the Sun's Song once or twice and when the sun is rising, shoot an arrow at it. A Fire Arrow will fall from the sky, go get it then head for Kakariko Village from Hyrule Field.
Kakariko Village
Inside the burning village, you will meet Sheik again who will teach you the Nocturne of Shadow. If you don't have the Lens of Truth yet, go find it in the Well. Play this song to warp to the entrance of the next temple. Get in the cave, stand on the pedestal in the middle of the torches and use Din's Fire.
