Thieves' Hideout
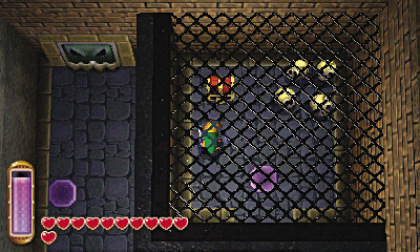 1st basement
The boy with the spear asks you to take over on guard duty for him. After noticing the boss door on the right, take on the walkway to the north, take the path west, then open the chest which contains 50 rupees. Go back to the previous room and head southwest.
Turn into a painting, go left and exit inside the cell. Open the chest to get another purple rupee, then go out of the cell. Place a bomb near the crystal switch or use the Hookshot or fire an arrow while standing to the northwest of the switch, then go in the southwest corner of the room where bars have lowered.
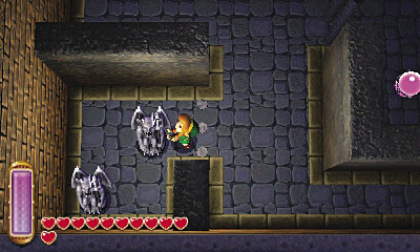 Grab one of the gargoyles and pull it out of the cell, do the same with the other one, then go through the bars and strike the switch again. Grab one of the gargoyles and pull/push it on the pressure plate in the north part of the room. Go for the second gargoyle and move it in front of the projectiles on the far left, then stand behind it and pull it on the pressure plate to the north. Next, merge into the wall to come back to the right, enter the cell on the right again and stand on the third plate of the room, which unseals the north door. Continue in this direction and take the next path north.
Get on the walkway on the left, then stand on the floor switch which activates a fan. Let yourself be carried away by this fan, then turn into a painting, go left and exit. Walk down the left stairs to the...
 2nd basement
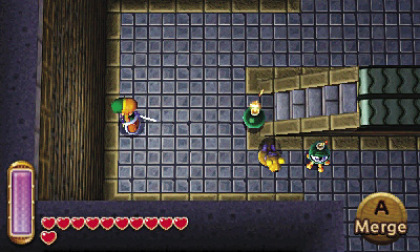
Climb the steps up on the right, go to the far south and open the chest containing 50 rupees. Climb the last steps down, move on the conveyor belts to cross the room south, and take the south path. Climb the small steps up, let yourself be carried by the conveyor belt, then just before falling into the pit, merge into the wall, go right and exit. Climb the steps up, strike the crystal switch which changes the direction of the left conveyor belt, then jump left. Hit the "bomb-enemy", pick it up and throw it quickly on this conveyor belt to activate the other switch, which unseals the door. Go south, then east in the next room, and continue north.
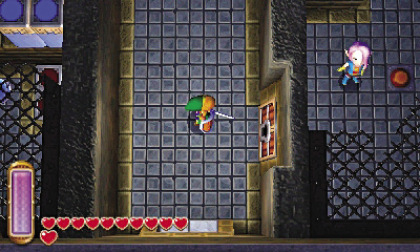 Take a few steps northward, then eastward and go through the bars to the north. Open the chest to get the Compass, then go through the bars again and enter the cell to the south. Talk to the thief girl, who promises to help you if you can free her. Stand on the floor switch which opens a door on the left, then exit the cell and take this unsealed path. Enter the northern cell, place a bomb near the north wall, then go left, to the far south and right to arrive in another cell. Stand on the red lowered blocks, strike the switch, then move on the blue blocks and strike the second switch to go up again. Walk on the roofs of the cells and drop down on the blue blocks in the northwest corner. Strike the switch to go down, then go in the next room to the north.
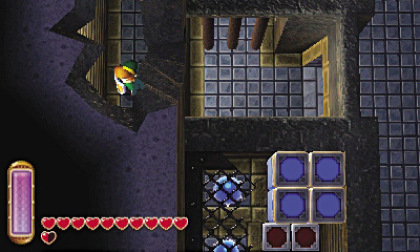 Equip the Lamp if you haven't already, then slash the enemies when their eye is open. Once all defeated, the warp portal appears and the chest is accessible. Pick up the five red rupees, then take the Small Key and go back south. Strike the two switches to reach the top of the cells, then jump on the right and unlock the thief girl's cell's door. Talk to her again to learn that the painting is outside the dungeon, then ask her to follow you and exit on the left. Unfortunately the door suddenly closes! Go north, lead the girl on one of the two floor switches and ask her to wait. Stand on the other switch to unseal the door, then call her and continue east.
Head north, monsters suddenly appear! Move back, tell the thief girl to wait for you, then defeat the enemies while preventing them from approaching your friend. Ask her to follow you and take the stairs to the...
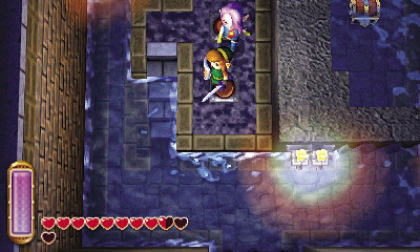 3rd basement
Go south, cross the metal bridge, then ask her to wait. Turn into a painting, go right, then stand on the switch which causes another bridge to appear. Call the girl, go south and ask her to wait in front of the bars. Merge into the wall, go through the bars, then swim to the far west, and go to the far north. Merge into the wall, move behind the upright metal bridge and exit to make it fall. Cross this bridge, call the girl, cross the bridge again, go south and put the thief girl and yourself on the two floor switches, which lowers some bars. Swim south, walk up on the right, grab the lever and pull it as much as you can so that the water drains out. Go back north, go through the bars and open the chest to get 100 rupees!
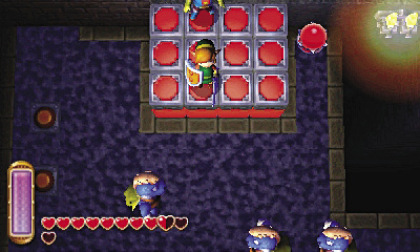 Go out, call the girl, go south and east. Strike the switch, move on the blue blocks and strike the switch again to make them go up. Continue together westward, then stand on the red lowered blocks. Tell her to wait, merge into the wall, go left and on the other side of the wall. Go east, make the bridge fall by standing behind it, cross it, stand on the red blocks and strike the switch to go up. When you call the girl, more monsters appear. Tell her to wait, defeat the enemies, then strike the switch, stand on the blocks, strike it again, then with the girl, stand on the two floor switches which causes a wall to slide away, revealing a secret passage. Pick up the 10 red rupees in this passage, then open the big chest which holds a piece of Master Ore! Go back to the far south, east, and with the girl take the stairs up to the...
 2nd basement
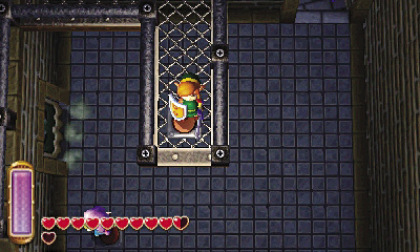
Put the thief girl on the floor switch, then climb the steps up to the south, cross westward, climb the following steps up and stand on the high floor switch. The door is unsealed and two monsters appear! Quickly drop yourself next to them and fight them! Continue left with the thief girl, open the chest which holds some monster guts, then go west twice. Monsters again! Go quickly to the left near the switch and strike it to make all the enemies fall! Continue north twice, cross a conveyor belt and quickly defeat the enemies, then merge into the wall, go right and strike the switch to change the direction of the conveyor belt. Go and get the thief girl, then go upstairs to the...
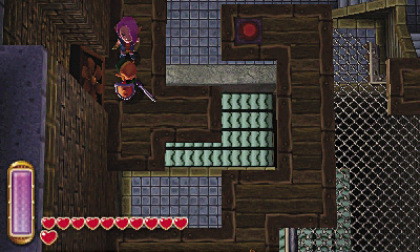 1st basement
Go south, leave the girl in front of the fan on the left, then merge into the wall, go left, exit and stand on the switch. The girl is carried away to the right. Move in the draft to join her, then tell her to wait in front of the second fan. Walk on the north floor switch so that she's taken to the left, join her, then walk on the bridge and continue south. Put the girl on a switch and stand on the other one, which makes a wall slide away. Open the chest to get 100 rupees, then continue south and east after defeating another two enemies. The front door of the dungeon closes! Cross the walkway, put the girl on a switch and stand on the other one to activate a plaque! Climb the steps up on the right, merge into this plaque and exit on the left. Open the chest which holds the Big Key! Call the girl, go back south and unlock the boss door, leaving the girl behind you...
Stalblind
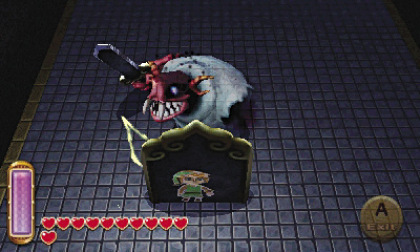 He always faces you! Merge into his shield, then exit when he shows you his back and strike him many times with the sword! Next, avoid the black steam he spits, then swing the sword in front of him so he raises his shield again, and repeat this technique twice. Now he gets rid of his shield. Wait for him to wave his sword to quickly go behind him and strike him again. Repeat this once more, then his head gets apart from his body. While avoiding his head and his attacks, go on slashing his back until he's defeated!
If you die, you must first fetch the girl. So enter the warp portal, enter her cell, go south, west, north, stand on the coloured tile, then come back south and east.
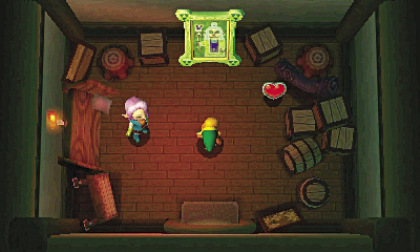 Next, the boss door opens and the thief girl arrives. Follow her outside, then in the nearby house. After the girl leaves, pick up the Heart Container, then touch the painting to rescue Osfala. In the sages' room, Osfalda recognizes you and notices your sword. Then he gives you his Sand Rod so you can bring it back to Ravio. Enter the portal to return to Lorule. Hilda asks you once again to save her kingdom.
Back in the village, Sheerow, Ravio's assistant, snatches away the Sand Rod!
