Breath of the Wild tips and tricks
Great Plateau, Ridgeland and Central Hyrule Shrines
Index of the Tips and Tricks • Complete Walkthrough
Great Plateau
Ja Baij - Bomb Trial
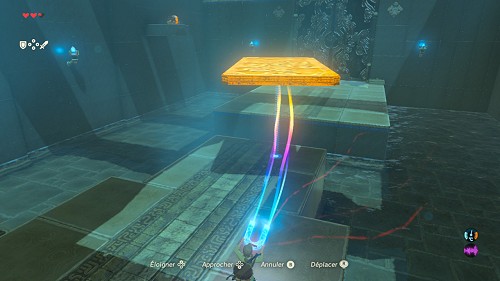 Location: In the eastern part of the Great Plateau
Required: -. See the walkthrough
Keh Namut - Cryonis Trial
Location: In the western part of the Great Plateau
Required: A meal against the cold. See the walkthrough
Oman Au - Magnesis Trial
Location: In the northeastern part of the Great Plateau
Required: -. See the walkthrough
Owa Daim - Stasis Trial
Location: In the southern part of the Great Plateau
Required: -. See the walkthrough
[DLC] Etsu Korima Shrine - Path of Light
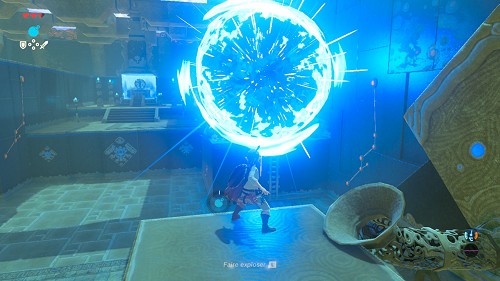 Location: At Mount Hylia
Required: -. See the walkthrough
[DLC] Rohta Chigah Shrine - Stop to Start
Location: In the eastern part of Great Plateau
Required: -. See the walkthrough
[DLC] Ruvo Korbah Shrine - A Major Test of Strenght
Location: In the south-eastern part of Great Plateau
Required: -. See the walkthrough
[DLC] Yowaka Ita Shrine - Collected Soul
Location: In the Forest of Spirits
Required: -. See the walkthrough
Hyrule Ridge
Maag No'rah - Maag No'rah's Blessing
Location: To the far north of this region, north of Lindor's Brow
Required: -.
Along the cliff, blow up the cracked rocks to reveal the cave hiding the shrine.
Go ahead, take a silver rupee from the chest, then receive another Spirit Orb.
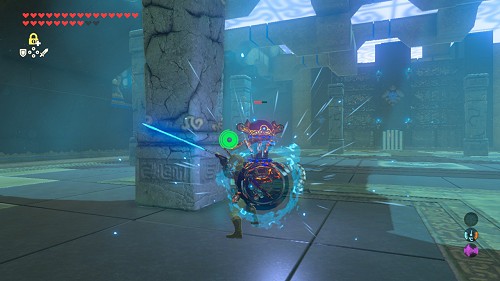 Mijah Rokee - A Modest Test of Strength
Location: On Washa's Bluff, southeast from the Tabantha Bridge Stable
Required: -. Linked to the "Under a Red Moon" quest
Go forward and get ready to fight a Guardian. Perform some jump attacks, avoid its attacks and hit it with the sword or shoot some Shock Arrows at its eye. Once it's defeated, pick up its Guardian Sword+, its Guardian Shield+, as well as its Ancient Materials. Keep going, get a Frostblade from the chest, then receive another Spirit Orb.
Mogg Latan - Synced Swing
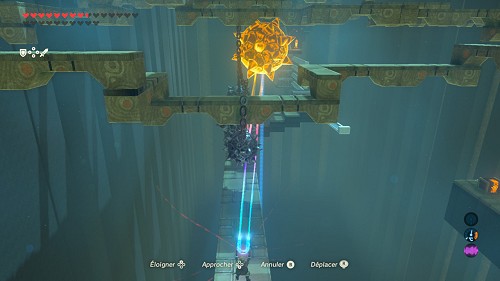 Location: On Satori Mountain, south of three peaks
Required: -.
Stand in front of the swing, use Magnesis to draw it at you, then let go, jump on it and jump further. Do the same with the following swing, then shoot some arrows at the two ropes of the footbridge and cross it. Go right and find a Forest Dweller's Spear inside the chest, then go left, grab the little spiked boulder and wind it above the beams. Grab the following boulder, push it while going forward, let go of it, do the same with the following one, then quickly climb the steps on the right. From the bottom of the steps, grab the third boulder, go forward while pushing it, stand next to the chest, then let go and find a Forest Dweller's Bow inside. Go back on the steps, then grab the metallic block, pull it at you as much as you can, let go and quickly jump on it, before it goes back. Grab the lowest block, pull it at you and do the same with the following ones to create some stairs to the switch.
To win 300 rupees: Don't build the stairs to the end. From the third block, glide to the chest in front of you while making a bend, take the golden rupee, then grab the two lowest blocks to come back on the third one before pulling the fourth one.
From there, shoot a Fire Arrow at the vines, then grab one of the doors and pull it to open it. Climb the slope to the monk and receive another Spirit Orb.
Shae Loya - Aim for the Moment
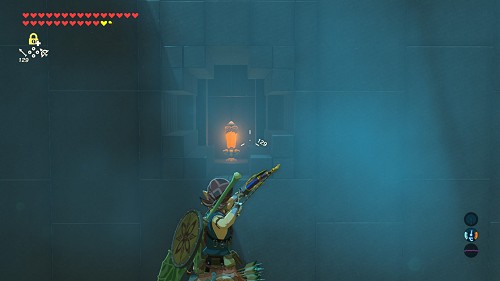 Location: Next to the Tabantha Bridge Stable
Required: -.
Look right and above and shoot arrows at the two ropes to make a chest fall down. Get a Falcon Bow from it, then stand on the slab near the entrance and look at the orb sent flying above. Use Stasis to freeze it when it's at its highest position, then shoot two arrows at it to veer it from its trajectory when it will fall down again and make it land into the container. Then, fly to the fence and open the chest behind which contains a Topaz. Go back on the slab, face the monk's cage, then while in the air, shoot an arrow at the switch, which will lift the bars. Then, go down and receive another Spirit Orb.
Sheem Dagoze - Moving in Parallel
Location: In the West Hyrule Plains, northwest of Jeddo Bridge
Required: -. Linked to the "The Two Rings" quest
Step on the left switch, then go down nearly immediately so an orb falls down and rolls to the container below to the right. Then, step on the right switch for 1-2 seconds, then on the left one for 1-2 seconds and again on the right one and stay on it so another orb rolls down to the container below to the left, which lifts the bars. Now glide to the platform between the two containers and open the chest on the left which holds a Great Thunderblade. Then step on the nearby switch to active the platform and come back near the entrance. Go to the monk and receive another Spirit Orb.
Toh Yahsa - Buried Secrets
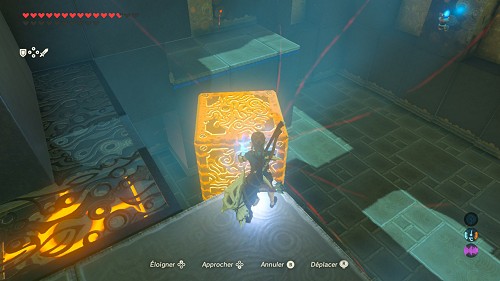 Location: On Thundra Plateau, west of the Ridgeland Tower
Required: -. Linked to the "Trial of Thunder" quest
Start by destroying all the cracked rocks with some bombs, including the one under the platform at the entrance. Open the hidden chest to find the Rubber Armor. Then, grab the metallic block you set free and use it to make the other chest fall from the pillar on the right. Open it for an Opal, then grab the block and place it in front of the ladder. Climb on the small square platform, jump on the block, climb the ladder and blow up the other cracked blocks. From the top of the first ladder, grab the block and place it behind you on a big switch, which lifts the bars. Climb the second ladder and go to the monk to receive another Spirit Orb.
Zalta Wa - Two Orbs to Guide You
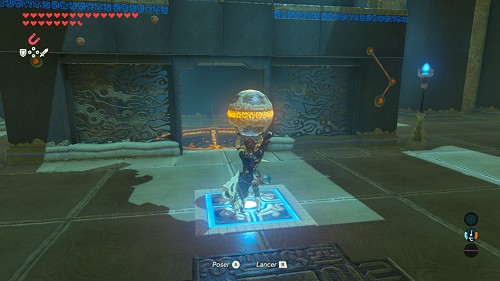 Location: In the Breach of Demise, between the North Hyrule Plain and West Hyrule Plains
Required: -.
Look at the room containing a lot of elements, then go right and shoot an arrow at the orb to make it fall into the container, which opens the door in the middle. Lift the other orb you find there, stand on the switch and throw the orb into the second container, which activates a kind of elevated corridor. Now stand on the slab in the centre and hit the switch when the corridor starts to draw near, which lifts the slab and sends you flying up, allowing you to enter this corridor. Climb the slope, then the one to the left and glide to the chest against the wall to the west (from the entrance). Get a Knight's or Royal Bow from it, then go back into the corridor. Climb the two slopes again, then the stairs to the monk, and receive another Spirit Orb.
Central Hyrule
Dah Kaso - A Minor Test of Strenght
Location: All the way to the southwest of Hyrule Field, west of the Great Plateau
Required: -.
Go forward and get ready to fight a small Guardian. Perform some jump attacks, avoid its attacks and hit it with the sword or shoot some Shock Arrows (or Wooden ones) at its eye. Once it's defeated, pick up its Guardian Spear, as well as its Ancient materials. Keep going, take the Ancient Core from the chest, then the monk gives you another Spirit Orb.
Kaam Ya'tak - Trial of Power
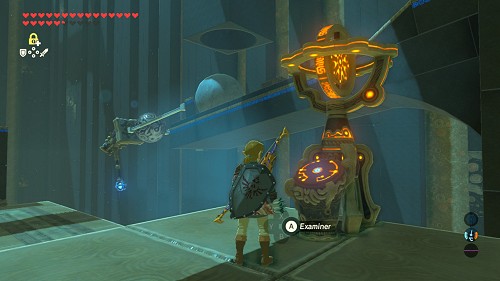 Location: Hyrule Field, south from Mount Daphnes
Required: -.
Look at the duct in front of you to which the big ball is fixed, use Magnesis on the ball in the duct to pull it back, then let go and the big ball will hit and open the doors. Go ahead while avoiding the big spiked boulders, then freeze a smaller boulder, go round it and let it go. Get rid of the two Guardians on the left, pick up their Ancient materials and their Guardian Swords if you want to, then find an Edge of Duality inside the chest. Then, put the leaves on fire, which causes another big ball to fall down and force other doors open. Go in this direction and open a chest containing a Royal Broadsword. Then climb the steps, destroy two other Guardians, and pick up their materials and their Guardian Spears if you want to. Go on, freeze the seesaw and quickly go across it, then go to the mechanism and look at it. You have to tilt the lever, then hit the ball hard enough but not too much to hit a ball that then has to fall into a hole and open a gate. Go ahead, get an Ancient Core from the chest, then follow a long corridor to another seesaw. First of all put the leaves on fire to burn down a plank, which makes balls fall down. Then, stand next to the switch, freeze the seesaw, then when another ball gets near you, step on the switch so that a ball is sent into the air that will fall on the freezed seesaw and open some more doors! Go through these doors, blow up the rocks to the right and get a silver rupee from the chest. Then, step on the switch, which lifts the bars, freeze the cannon, then hit it twice so it forces open the doors in front of you. Go forward, stand on the slab, hit the switch, then fly to the monk. Before you receive another Spirit Orb, you can go down to the right or to the left to get a Diamond from another chest.
Katah Chuki - A Minor Test of Strenght
Location: Northwest of Hyrule Field, in the southwest of the Quarry Ruins
Required: -.
Go forward and get ready to fight a small Guardian. Perform some jump attacks, avoid its attacks and hit it with the sword or shoot some Shock Arrows (or Wooden ones) at its eye. Once it's defeated, pick up its Guardian Spear, as well as its Ancient materials. Keep going, get the Royal Halberd from the chest, then the monk gives you another Spirit Orb.
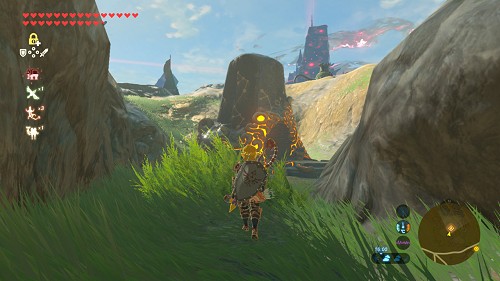 Namika Ozz - A Modest Test of Strenght
Location: Northeast of Hyrule Field, in the middle of Crenel Hills
Required: -.
Go forward and get ready to fight a Guardian. Perform some jump attacks, avoid its attacks and hit it with the sword or shoot some Shock Arrows at its eye. Once it's defeated, pick up its Ancient Battle Axe+, its Guardian Spear+, as well as its Ancient materials. Keep going, get a Frostspear from the chest, then receive another Spirit Orb.
Noya Neha - A Minor Test of Strenght
 Location: Hyrule Field, on the island southwest of Hyrule Castle
Required: -.
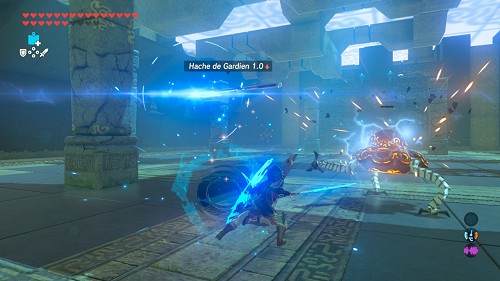
In the southern part of this island, notice some brambles on the western side of a hill, and the cracked rocks in the middle. Shoot a Bomb Arrow at these rocks to reveal a large cave and get in.
Go forward and get ready to fight a small Guardian. Perform some jump attacks, avoid its attacks and hit it with the sword or shoot some Shock Arrows (or Wooden ones) at its eye. Once it's defeated, pick up its Ancient Battle Axe, as well as its Ancient materials. Keep going, get a Royal Shield from the chest, then receive another Spirit Orb.
Rota Ooh - Passing of the Gates
 Location: Next to the Outskirt Stable
Required: -.
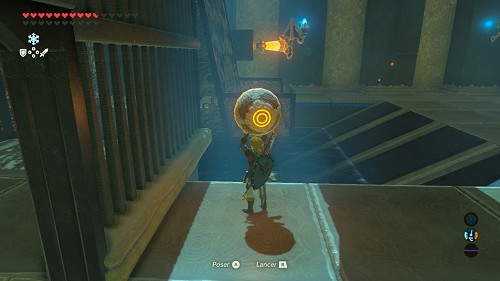
Go right and shoot an arrow at the switch, which causes a part of the room to rotate. Go left into the now accessible corridor and open the chest containing a Small Key. Go back next to the switch and shoot an arrow at it to turn the room back to how it first was. Unlock the door thanks to the key, lift the orb and throw it into the "basket" left of the switch. Activate it again, which will send the orb on the other side of the wall, straight into the container, which activates a "lever" platform. Climb on this platform, then when you're up high in the air, fly to the chest in front containing a Feathered Edge. Go back on the lever platform, look in the switch's direction, then in the air, shoot an arrow at it and then land in the centre of the room. Go to the monk's altar and receive another Spirit Orb.
Saas Ko'Sah - A Major Test of Strenght
Location: Hyrule Castle, on the Docks
Required: -.
On the Docks (north of the castle), walk up the long stairs, then shoot a fire arrow (or a simple arrow put into the fire) at the big basin, which makes the shrine appear.
Go forward and get ready to fight a tough Guardian. Perform some jump attacks, avoid its attacks, hit it with Ancient weapons if you can and shoot some Shock Arrows. Once it's defeated, pick up its Guardian Spear++, its Guardian Sword++, its Guardian Axe++ as well as its Ancient materials. Keep going, get a Flameblade from the chest, then the monk gives you another Spirit Orb.
Wahgo Katta - Metal Connections
 Location: In the southeast part of the field, near the Riverside Stable
Required: -.
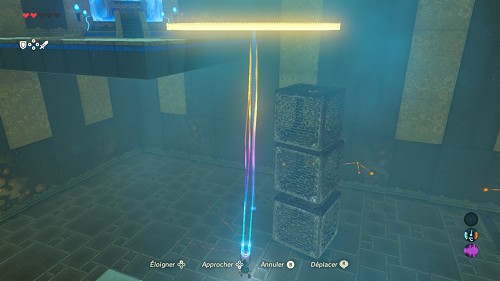
Climb on the cages on the right and open the chest which contains some Amber. Notice the plate on the right and the monk in front of you, then jump down and move the crates next to the plate. Climb at the top and use the Magnesis Rune to place the plate on the ground. Then move the crates next to the monk (but not too close), then place the plate between the crates and the monk's platform. Finally climb on the crates, and step on the plate to reach the monk.
