Breath of the Wild tips and tricks
Hebra and Tabantha Shrines
Index of the Tips and Tricks • Complete Walkthrough
Hebra
Dunba Taag - Build and Release
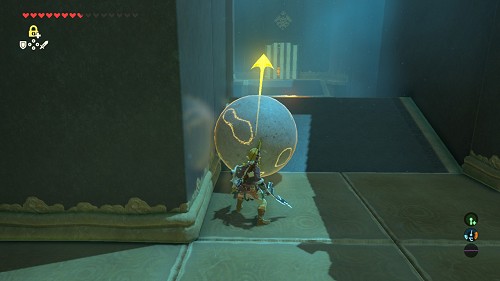 Location: Hebra, all the way to the south of the region, in between very high cliffs
Required: -.
Go ahead, notice the pressure switch on the left, then use Stasis to stop the wheel when the bar is slightly tilted to the right so that two balls have enough time to hit the switch, which lifts the bars. Go into the following room and turn left.
Stand next to the edge and the bars, then make several bombs explode to destroy or make stone blocks fall down, thus freeing the path to a pressure switch. Then go get a barrel, place it next to the edge, freeze it, then hit it several times to press the switch, which lifts the bars next to it. But there's an easier way! Don't make the stone blocks fall down, stand next to the edge and shoot a Bomb Arrow right in the middle of them, and one of them should be propelled towards the switch. Open the chest next to it for a Falcon Bow.
Now go into the part of the room which is behind you, where a ball lies. Move it a bit, freeze it, then hit it two-three times so it falls onto a big switch, which lifts some bars. Get a Great Thunderblade from the chest, then go in the northeastern corner of the room. You can again either place a barrel next to the edge, freeze it and hit it to make the big vertical slab fall down on the pressure switch, or: shoot a Bomb Arrow at the center of the slab to also make it fall. Once the bars behind the switch are lifted, go there where the monk is waiting for you, and gives you another Spirit Orb.
Gee Ha'rah - Tandem
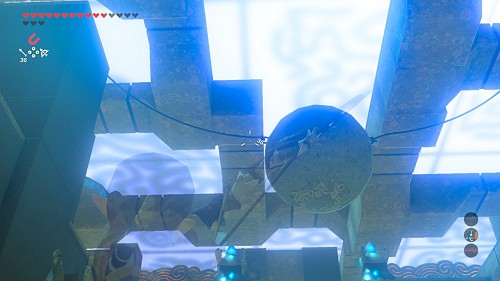 Location: Tabantha Snowfield, at Kopeeki Drifts
South of this snowfield, northwest of Hebra Tower, start by looking for two great doors. Then turn around and notice several tracks in the snow. Climb towards northwest in the direction of the skull, then once arrived at the top of the tracks, go north where there is a small camp and some snowballs. Pick up one of them, go back southeast a bit (up to the thicker line on your map), then place the ball at the top of the path so it gets bigger while rolling down and makes the doors collapse. Glide down there and get in.
Required: a few arrows.
Shoot an arrow at the rope, which makes the ball fall on the pressure-switch and lifts the bars. Go forward and go left. There you have to shoot an arrow at the rope on the left side so the ball falls on the pressure-switch on the right. Run to the chest and get a Diamond (and get your arrow back). Now go on the other side. Use Stasis to freeze the ball, then quickly, cut the two ropes with some arrows so it falls on the pressure-switch, which lifts the bars at the back. Go to the monk and receive another Spirit Orb.
Goma Asaagh - A Major Test of Strenght
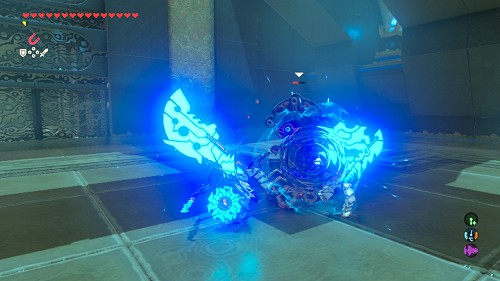 Location: Hebra Mountains, Hebra Peak (in the centre of the mountains)
Required: Some Fire Arrows to get in. Look for three big ice cubes on the southwestern side of Hebra Peak and shoot Fire Arrows at the middle one to reach the shrine.
Go forward and get ready to fight a tough Guardian. Perform some jump attacks, avoid its attacks, hit it with Ancient weapons if you can and shoot some Shock Arrows. Once it's defeated, pick up its Guardian Sword++, its Ancient Battle Axe++, its Guardian Spear++ as well as its Ancient Materials. Keep going, get a Royal Claymore from the chest, then the monk gives you another Spirit Orb.
Hia Miu - A Major Test of Strength
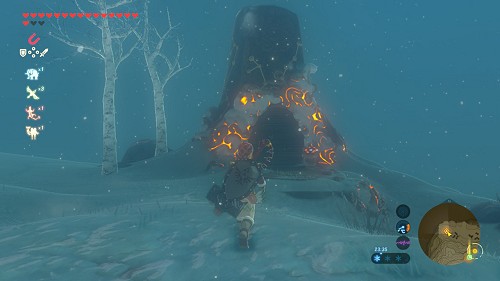 Location: Hebra, at Icefall Foothills (all the way to the northwest of the map)
Required: -.
Go forward and get ready to fight a tough Guardian. Perform some jump attacks, avoid its attacks, hit it with Ancient Weapons if you can and shoot some Shock Arrows. Once it's defeated, pick up its Guardian Sword++, its Ancient Battle Axe++, its Guardian Spear++ as well as its Ancient materials. Keep going, get a Sapphire from the chest, then the monk gives you another Spirit Orb.
[DLC] Kiah Toza Shrine - Master The Orb
Location: In the east of Hebra, in Pikida Stonegrove
Required: -. See the walkthrough
Lanno Kooh - Lanno Kooh's Blessing
Location: Hebra, east of Lake Hebra, reachable by swimming in a river going under a hill
Required: -.
Go forward and open the chest containing a golden rupee, then simply receive another Spirit Orb
Maka Rah - Steady Thy Heart
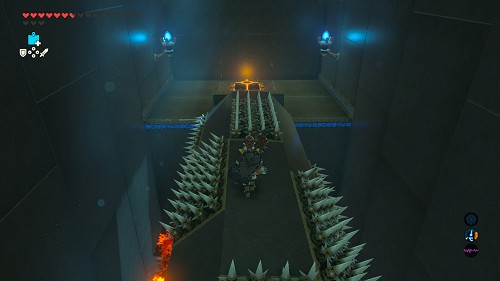 Location: Hebra, on the west bank of Lake Kilsie
Required: -.
At Lake Kilsie, eastern side, facing the wooden docks on the other side, blow up some cracked rocks on an islet to free an updraft. Then use this updraft and glide west to cross the lake. After the docks, you can spot the shrine hidden behind the mountain. In the corner, blow up some other cracked rocks to free another air current and fly higher. Then go northeast to the edge, climb up a bit and go on your right along the wall to find an opening marked by some torches. Get in and go across the underground lake to find the shrine.
Go forward, light the torch through the already lit torch and go on. Carefully go on the spiked roll, then step on the switch. Quickly shoot some (Shock) arrows at the four Guardians, then pick up their Ancient materials. Use Cryonis to generate an ice pillar next to the chest, and take some Bomb Arrows from it. Generate another pillar next to the switch, then step on it, which lifts some bars. Step on the new switch, move aside to avoid the rolling spiked boulder, then climb the slope. Turn around, throw a bomb at the stone blocks to blow them up, then grab the chest with Magnesis and find a Diamond. A little further, grab another chest and get an Ancient Core. Step on the following switch and quickly step back to avoid the boulders. Grab one of them, then push it while going up the slope. Go to the monk and receive another Spirit Orb.
Mozo Shenno - A Major Test of Strength
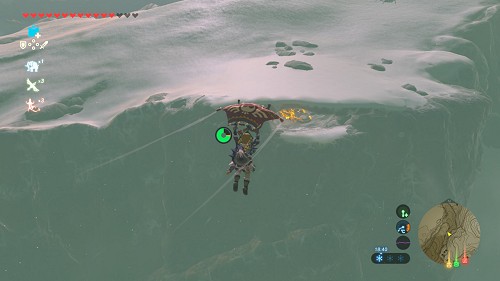 Location: Hebra, in Biron Snowshelf
Required: -. Linked to the "The Bird in the Mountains" quest
Go forward and get ready to fight a tough Guardian. Perform some jump attacks, avoid its attacks, hit it with Ancient Weapons if you can and shoot some Shock Arrows. Once it's defeated, pick up its Guardian Sword++, its Ancient Battle Axe++, its Guardian Spear++ as well as its Ancient materials. Keep going, get a Diamond from the chest, then the monk gives you another Spirit Orb.
Qaza Tokki - Qaza Tokki's Blessing
Location: Hebra, all the way to the northeast of this region, in the North Lomei Labyrinth
Required: -. Linked to the "Trial on the Cliff" quest
Go forward and open the chest containing the Barbarian Leg Wraps, then simply receive another Spirit Orb
Rin Oyaa - Directing the Wind
Location: Hebra, next to the Snowfield Stable
Required: -. See the walkthrough
Rok Uwog - Power of Reach
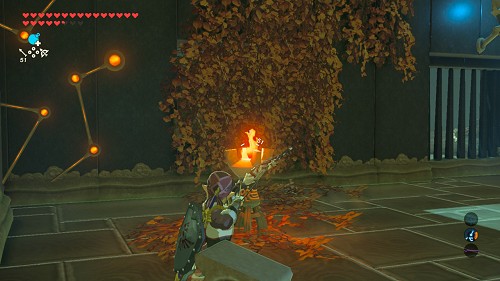 Location: Hebra, at Pikida Stonegrove (in the eastern part of the mountain)
Required: -.
Shoot an arrow through the flame to burn the vines left of the bars, then go through the opening and fight a Guardian. Pick up its Guardian Spear if you want to, then burn down the wooden crate under the slope and move the metallic block if necessary. Go up the slope, go down the following one then fight another Guardian dropping a Guardian Spear as well. Pick up this long-ranged spear, then hit the two barrels through the bars, which turns off the switch and lifts the bars. Go forward, take the Small Key from the chest, then climb the ladder. Jump on your left and open the chest containing a Drillshaft. Now jump below, unlock the door to the left, then go to the monk who gives you another Spirit Orb.
Shada Naw - Red Giveaway
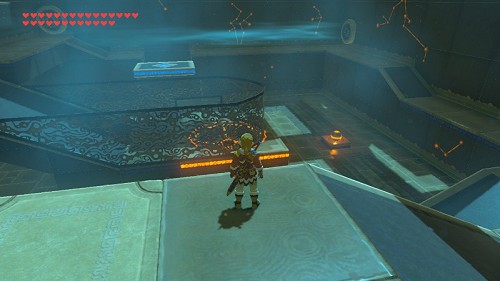 Location: Hebra Mountains, between Hebra Tundra and Hebra East Summit
Required: -.
First use Magnesis and notice a magnetic item in the left wall. Pull this part of the wall, then grab the metallic block and place it on it. Then, go get the ball, go back up the slope and place it in such a way that it rolls round the room, but immediatly run to the moving platform and freeze it so the ball can pass on it and fall into the container, which lifts a platform near the entrance. Follow the path the ball took and once you reach the northwest corner, grab the chest and get a Great Frostblade. Keep going until you reach the ball, lift it and place it in front of the container (the platform lowers). Stand on this platform, then grab the block and push the ball into the container. You only have to go to the monk to receive another Spirit Orb.
 Sha Gehma - Shift and Lock
Location: Hebra, in Tabantha Snowfield, "North Tabantha Snowfield" (all the way to the north of the map)
Required: -.
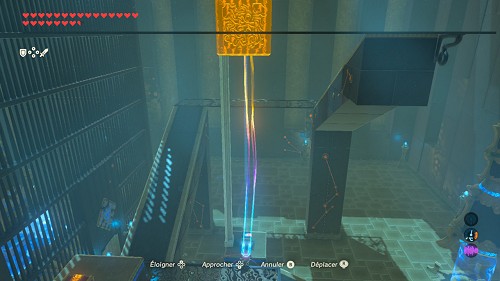
Start by climbing all the slopes, then jump towards the chest below, containing a Royal Broadsword. Then, jump on the footbridge right below. Use Magnesis, lift the magnetic block as high as you can, then quickly, drop it, select Stasis and freeze the cube during its fall. Then, fly to the chest, take the Small Key inside, and jump below. You only have to unlock the lock and go to the monk who gives you another Spirit Orb.
To Quomo - To Quomo's Blessing
 Location: Hebra Mountains, in the north of Hebra North Summit, but you reach it through a door located southeast of the summit
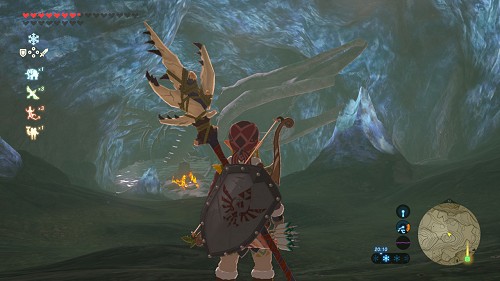
Required: -. In the southeast of Hebra North Summit, look for a small pond on your map and go there, then look for a double door in the mountain. As you may have already guessed if you've seen this kind of door before, create two ice pillars on this pond, then climb the mountain in a straight line (always having the doors in your back) until you see a big and a small snowballs next to some trees. Lift the big snowball, face the double door and place it near the edge so it rolls down and forces it open. Glide over there and enter a giant hidden cave, hiding another surprise.
Go ahead and open the chest containing a Royal Claymore, then simply receive another Spirit Orb
Tabantha
Akh Va'quot - Windmills
Location: Tabantha, in Rito Village
Required: -. See the walkthrough
Bareeda Naag - Cannon
 Location: Tabantha, south of Rito Village
Required: -. Linked to the "The Ancient Rito Song" quest
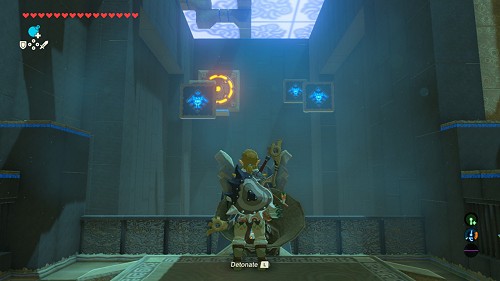
Place a bomb next to the blocks on the right, then take a Falcon Bow from the chest. Climb the ladder behind you, place a round bomb into the cannon and blow it up. The blocks that were on the sides are moving. Load the cannon again and fire to hit the target in front of you, which this time lifts the bars (I pressed down L when the front block was in the middle). Go forward, pass by the monk and find another cannon. Load a bomb and fire again to hit the target, this time moving. Go right and find a Diamond into the chest. Go back to the monk and receive another Spirit Orb.
Kah Okeo - Wind Guide
 Location: Tabantha Frontier, in the west part of Rayne Highlands
Required: -.
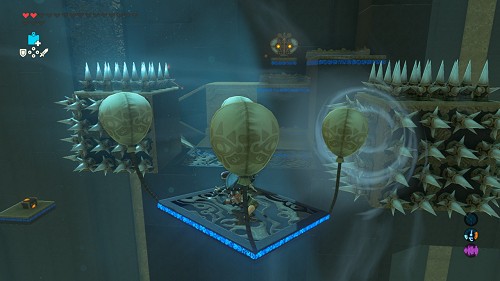
Go forward and take the Korok Leaf from the chest. Climb the slope, use the leaf to make the windmill spin, then dash to the bars. Avoid the barrel, walk to the edge and shoot two Shock Arrows at the Guardian below, or jump and attack it. Fight the two Guardians further, pick up their Ancient materials, as well as their Guardian Swords if you want to. Climb the ladder and use the leaf to spin the windmill, which makes another platform held by four balloons appear. Jump on this platform, use the leaf to aim at the chest you spotted before and find 300 rupees inside. Go back on the platform and this time go to the other side. Go down the ladder, go down the stairs, go straight ahead and fight another Guardian. Drop a bomb against the block and blow it up from afar, then keep going into another big room. Stand on the slab, spin the windmill, then glide to the chest on the left. Find a Forest Dweller's Sword inside it. Fly to the following windmill, spin it, then towards the ladder and climb it as well as the following one. Blow up the rock slab, which frees an updraft, then fly into in. Keep going to the left, spin the windmill, which makes another balloon-platform appear, then jump on this platform and aim for the chest on the right. Get a Giant Ancient Core from it, then backtrack a little, navigate between the spiked blocks and get down on the other side. Spin the windmill, glide and land on the highest level, then go left. Spin the windmill, which makes a flying barrel appear, then use the leaf to move this barrel into the big room and take it to the huge tower made of stone blocks. When it's near, shoot a Fire or Bomb Arrow to destroy these blocks and free another updraft. Climb the slope behind you, spin the windmill and glide into this great current which takes you even higher. Take the small key from the chest, then go down the ladder, climb the slope and glide in front of you. Go ahead, glide to the chest lower on the left and get a Thunder Spear (at this moment, you can drop the Korok Leaf). Fly below, open the door and the monk gives you another Spirit Orb.
[DLC] Noe Rajee Shrine - The Four Winds
Location: To the north of Rito Village, at the Flight Range
Required: -. See the walkthrough
 Sha Warvo - Path of Hidden Winds
Location: Tabantha, north of Rito Village
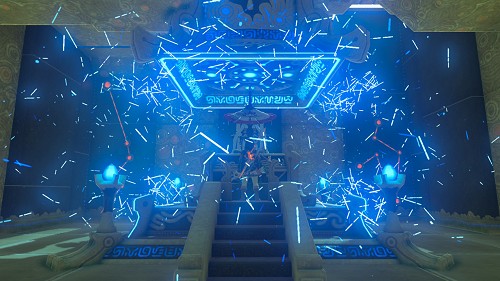
Required: -. See the walkthrough
[DLC] Shira Gomar Shrine - Aim for Stillness
Location: At Tanagar Canyon
Required: -. See the walkthrough
Tena Ko'sah - A Major Test of Strength
Location: Tabantha Frontier, at the Ancient Columns
Required: -.
Go forward and get ready to fight a tough Guardian. Perform some jump attacks, avoid its attacks, hit it with Ancient Weapons if you can and shoot some Shock Arrows. Once it's defeated, pick up its Guardian Sword++, its Ancient Battle Axe++, its Guardian Shield++ as well as its Ancient materials. Keep going, get the Knight Halberd from the chest, then the monk gives you another Spirit Orb.
Voo Lota - The Winding Route
 Location: Tabantha, southwest of Rito Village
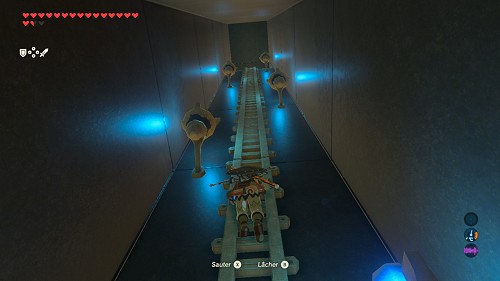
Required: -. Linked to the "Recital at Warbler's Nest" quest
Climb the endless ladder, then hit the switch and straightaway, take out the Paraglider and fly to the right. Fly south, let go near the chest and take a Flameblade from it. Glide south again, let go before the spikes, then glide to the north. Glide to the west towards the monk's altar and again to the west, then stand on the fan. Jump, glide and land on the left. Fly east, going left of the obstacle and land near the chest. Take the small key, then fly towards the south. Fly towards the monk's altar and this time unlock the door. Receive another Spirit Orb.
